|
|
The Maps Project Pre-kinder
4 April
2005 Panel
compiled by Juliet Evans
|
 |
|
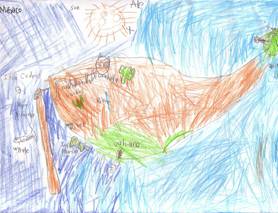
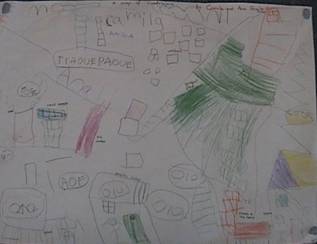
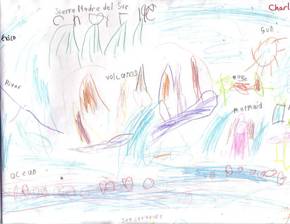
| Map of Mexico by Alejandro |
Map of the way to Camila's house |
This project grew from an interest the children
had in the various globes and atlases we have in the classroom, and in creating
their own maps to take to recess each day.
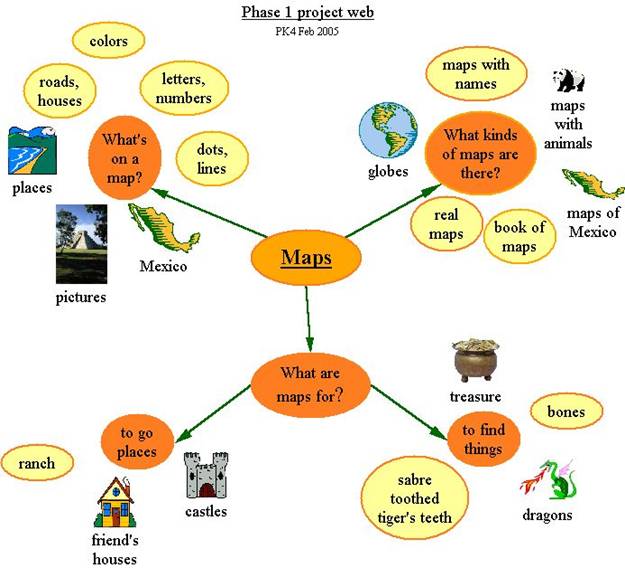
We launched the project by making a web showing
some of the children’s prior knowledge about the types, functions, and features
of maps. The main strands of this web are phrased as questions.
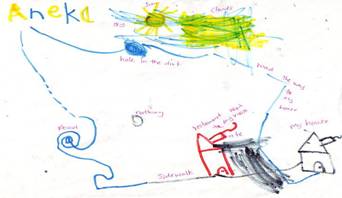
The children were asked to draw maps from memory,
to see what ideas they had already about maps. Their drawings
suggest that they understand that maps show the location of things, and can be
used to get places or find things.
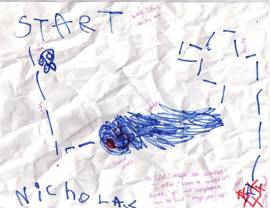
Nicholas’s map shows the route a scuba diver
should take through the water to reach the toys. He crumpled his map up, since
according to him “maps are old and wrinkled”. |
|
Aneka’s map shows the way to get to her house. |
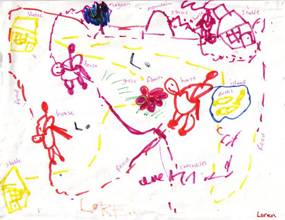
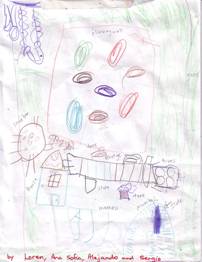
Loren’s map shows the roads that connect stables
where the horses live. |
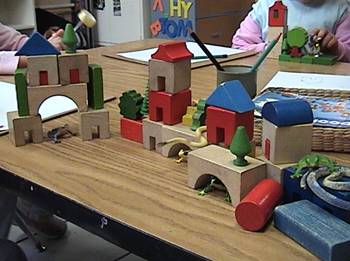
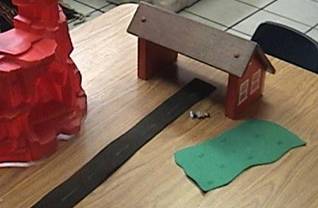
As a pre-mapping activity, the children were given
opportunities to build block structures which they were then encouraged to
draw.
 |
 |
Thomas constructed these buildings using blocks, then drew them.
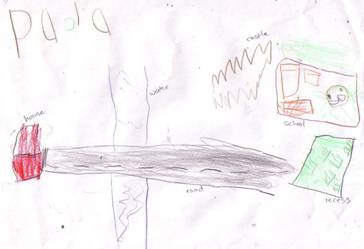
The children were then invited to draw a map of a
story created by the teacher. The scene shows the road a girl follows as she
travels to school and what she passes on the way (forest, river, mountain, garden).
 |
 |
 |
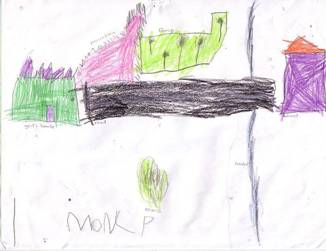 |
Maps
drawn by Paola and Monica
In Phase 2 of
the project, we started to create our own maps of real places. The children
worked individually and in groups to create maps of their immediate
environment, that is, of the classroom and of the recess area.
 |
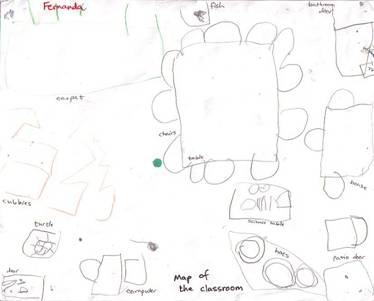 |
| Map of the classroom (all children contributed) | Classroom map drawn by Fernanda |
 |
 |
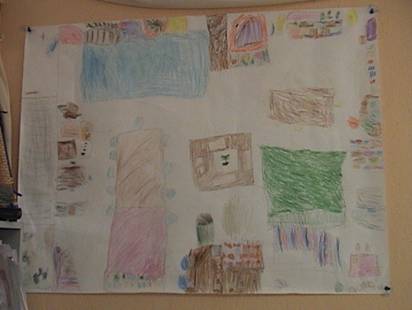
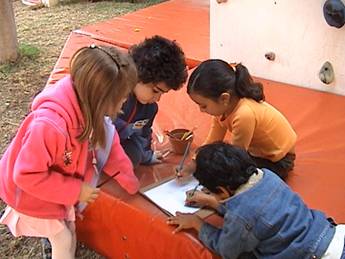
Children
cooperated to draw a map of recess
 |
 |
 |
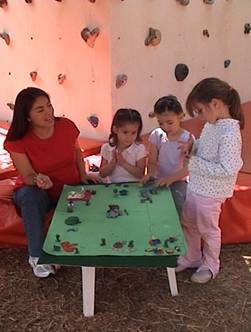 |
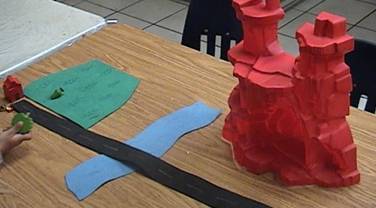
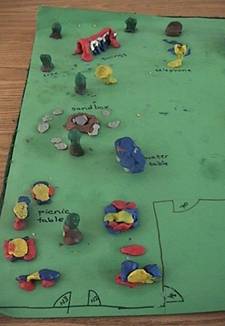
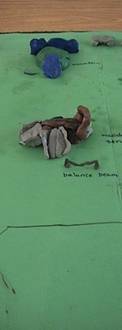
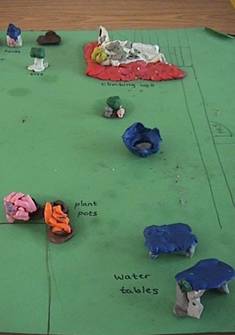
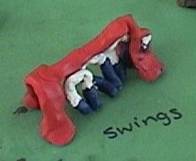
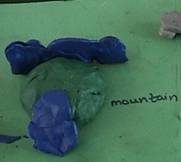
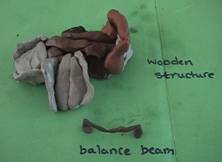
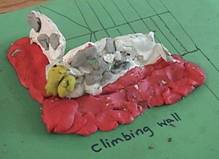
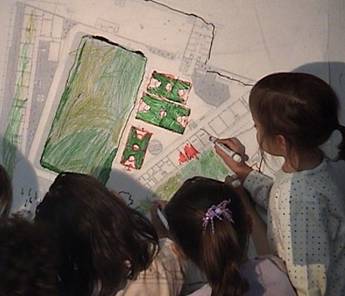
Children
worked on a 3-D map of recess, made using colored modeling clay.
|
 |
 |
 |
 |
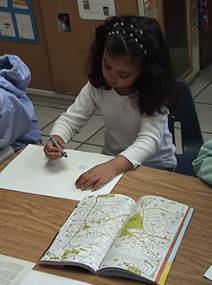 |
Then we started to study real maps, to learn more
about how they are drawn and what features they include. |
 |
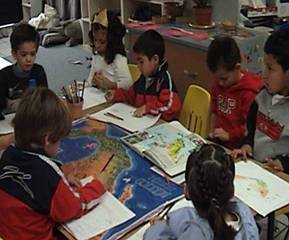 |
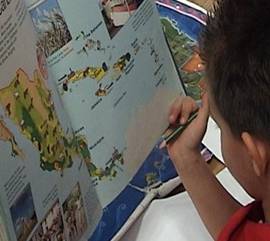
Children
referred to real maps to help them draw maps of our school, our city, the
country where we live and the world. |
 |
 |
 |
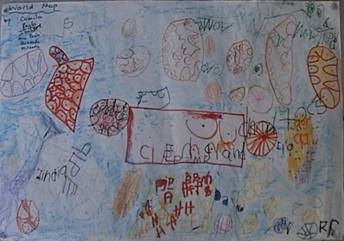 |
| Map of Mexico by Charlie | Map of the world by the girls |
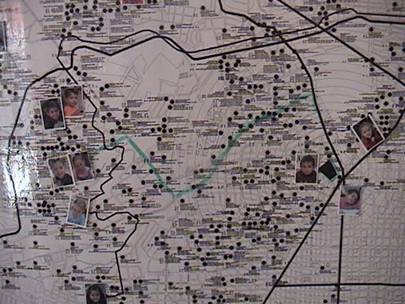 |
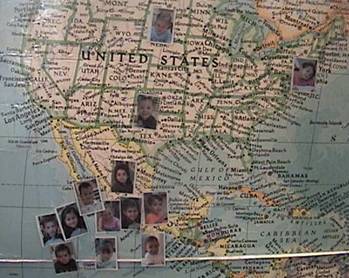
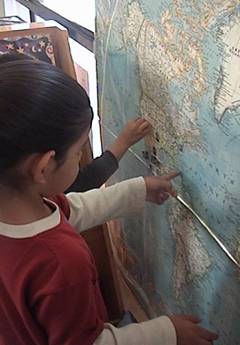
A photo of each child was placed on a large map of
our city, to show where everyone lives. We discussed who lives close to or far
from school, and which classmates live near each other. |
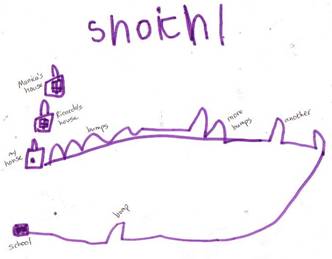
The children drew maps to represent some of the
things that they see on their journey from home to school.
 |
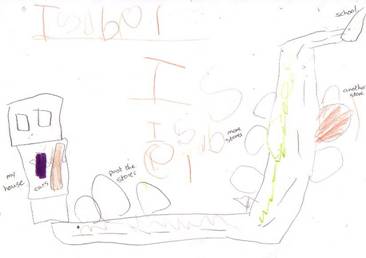 |
Shoichi
passes many speed bumps on his way to school. Isabel passes many stores.
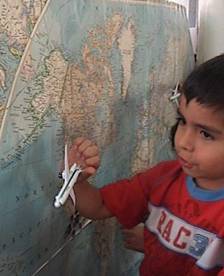
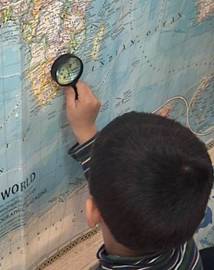
Then the children stuck their photo on a map of
the world, to show a place they had visited or would like to visit. Toy
airplanes and magnifiers were also provided for children to use to further
explore the use of maps to plan or retrace a journey.
 |
 |
 |
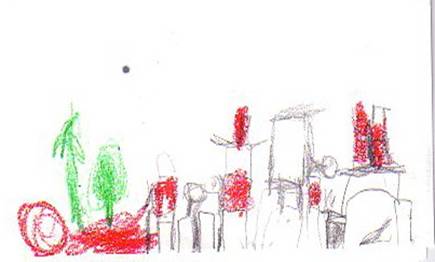
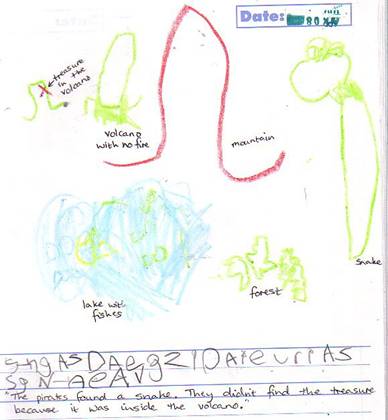
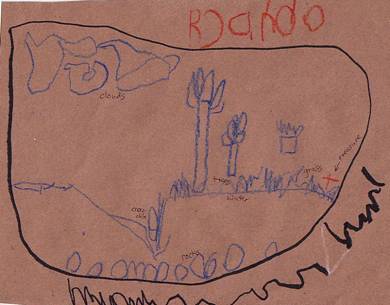
Children were encouraged to draw their own
treasure maps.
|
|
 |
|
These examples by Ricardo and Sergio show trees,
water, waterfalls, mountains and some animals. The treasure is hidden at the red x. |
|
Project Conclusion
At the end of the project, the children made these
comments showing what they had learned about maps:
|
Mikel – Maps are for
looking for things. They have countries like Camila and Ana Sofia – I used
a map to go to the beach. Sergio – You can’t find dinosaur bones with a map. Ricardo – There’s a map at the zoo to find the animals.
Paola – And so you don’t get lost.
|
 |